Yesterday I shared a method of creating an girl art quilt where the quilting is done after the girl is attached to the quilt top (background fabric).
Today, I’ll show you my preferred method of quilt construction where the background is quilted before the girl is attached. The first few step are identical to those I shared earlier.

Step 1: Gather items for quilt: pattern, faces pre fused to fusible webbing, fusible webbing, background fabric, backing fabric, batting, ruffles, fabric for dress, embellishments.
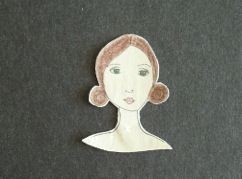
Step 2: Color the face with colored pencils and cut out. If desired, you can draw different hair with a permanent marker before coloring.


Step 3: Trace dress pattern onto the back of fusible webbing, fuse dress fabric to the fusible webbing and cut out. If making a short sleeve dress or if you want to add legs, fuse webbing to fabric matching the face and cut out arms and legs. My arms for these girls were straight lines.
Step 4: Assemble girl together by removing all release paper from the pieces and fusing the girl together on a piece of parchment or teflon sheet.
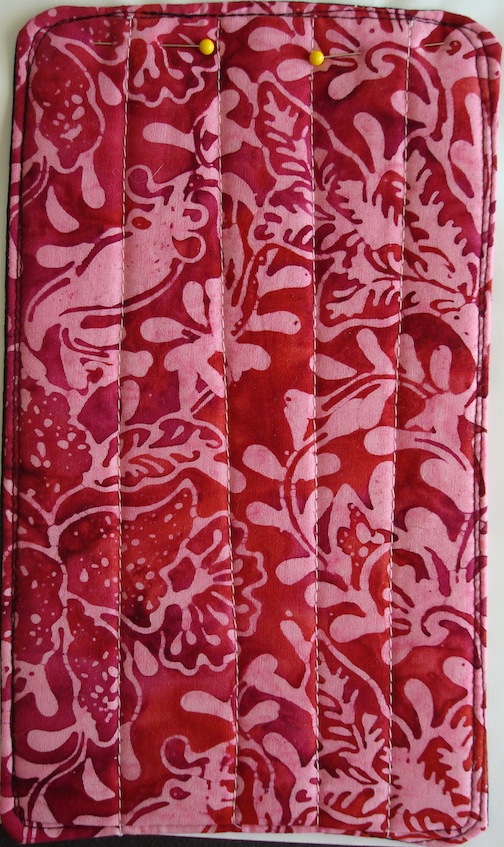
Step 5: Quilt the quilt and bind if using pillow case binding technique.

Step 6: Fuse girl to the background.
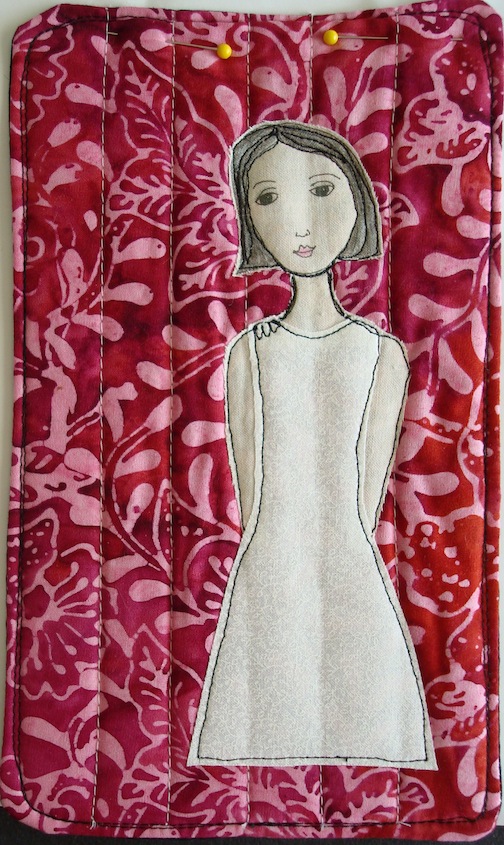
Step 7: Outline stitch around the girl. If I were using a traditional binding technique with bias strips, I’d attach the binding at this time.
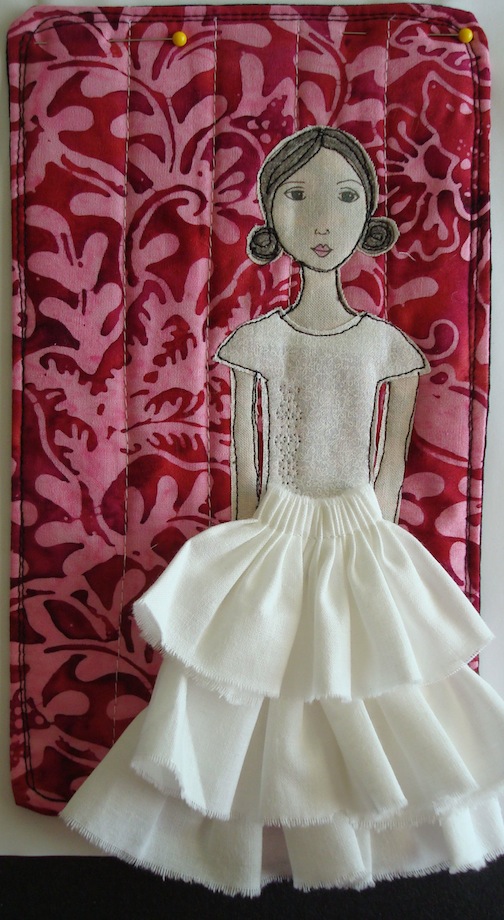
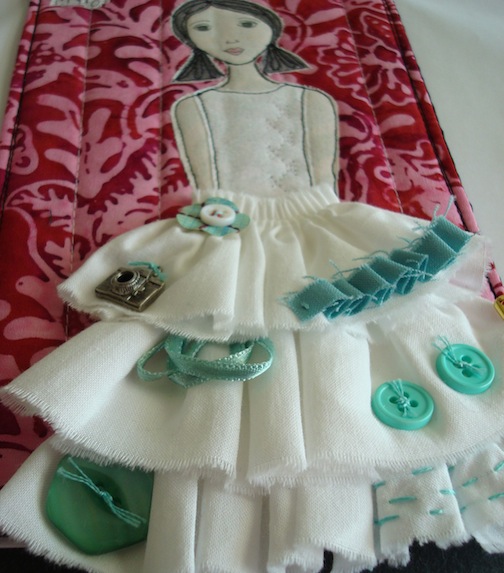
Step 8: Attach ruffles.

Step 9: Embellish the quilt with buttons, ribbon, metal trinkets, embroidery floss. Write a saying on a piece of fabric fused to fusible webbing, trim and iron to quilt. Stitch around the saying and attach a hanger to the back of the quilt.