I did a mini workshop last week on creative girl art quilts. I spent the week prior making detailed step outs on the construction of these art quilt. Today I am sharing one method of construction for making a creative girl art quilt.
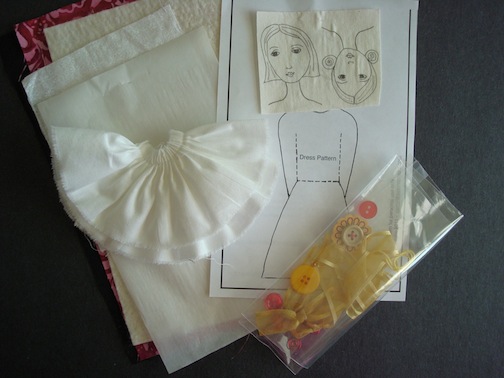
Step 1: Gather items for quilt: pattern, faces pre fused to fusible webbing, fusible webbing, background fabric, backing fabric, batting, ruffles, fabric for dress, embellishments. My quilt is 6†x 9†so my background and backing fabrics are cut a bit larger than this.
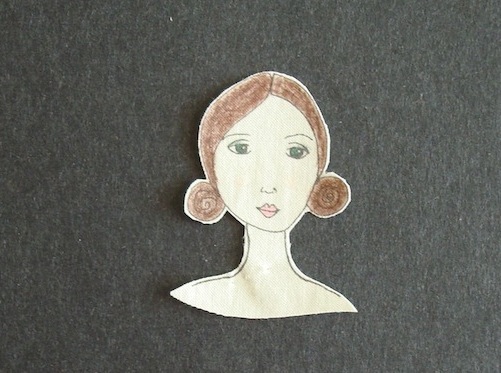
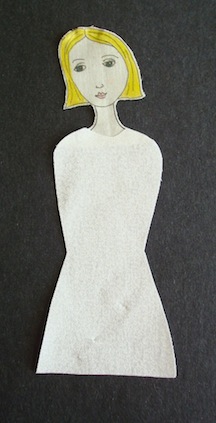
Step 2: Color face with colored pencils and cut out. If desired, you can draw different hair with a permanent marker before coloring.
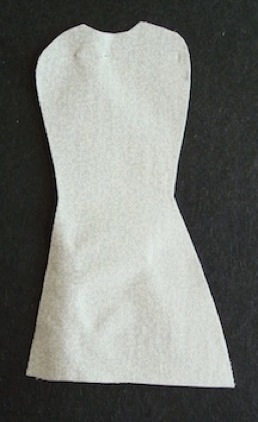
Step 3: Trace dress pattern onto the back of fusible webbing, fuse dress fabric to the fusible webbing and cut out. If making a short sleeve dress or want to add legs, fuse webbing to fabric matching the face and cut out arms and legs. My arms for these girls were straight lines.
Step 4: Assemble girl together by removing all release paper from the pieces and fusing the girl together on a piece of parchment or teflon sheet. You can assemble the girl directly on to the background fabric.
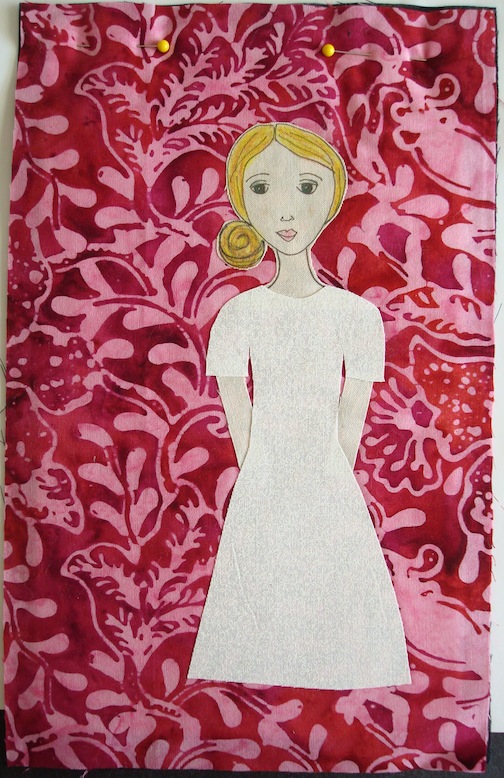
Step 5: Fuse girl to background and assemble your quilt sandwich.
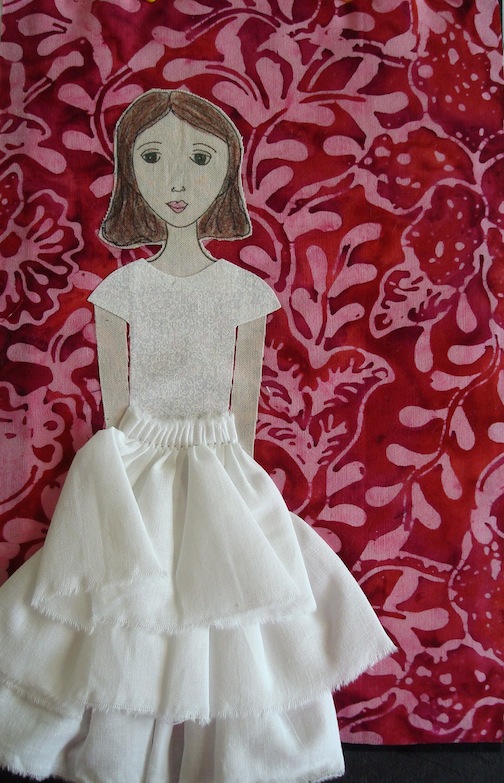
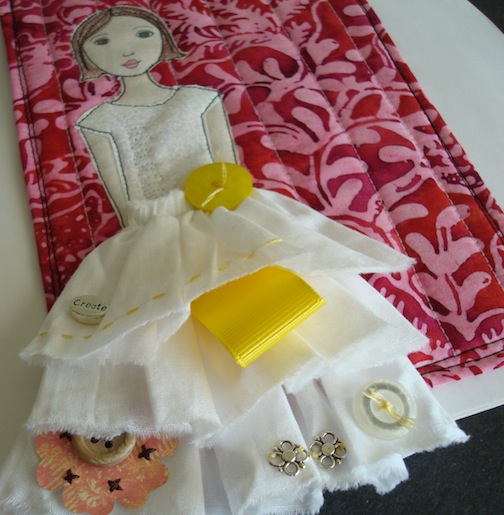
Step 6: Attach ruffles using a straight stitch. The ruffles are cut slightly wider than the dress and each end is folded under as it is attached.
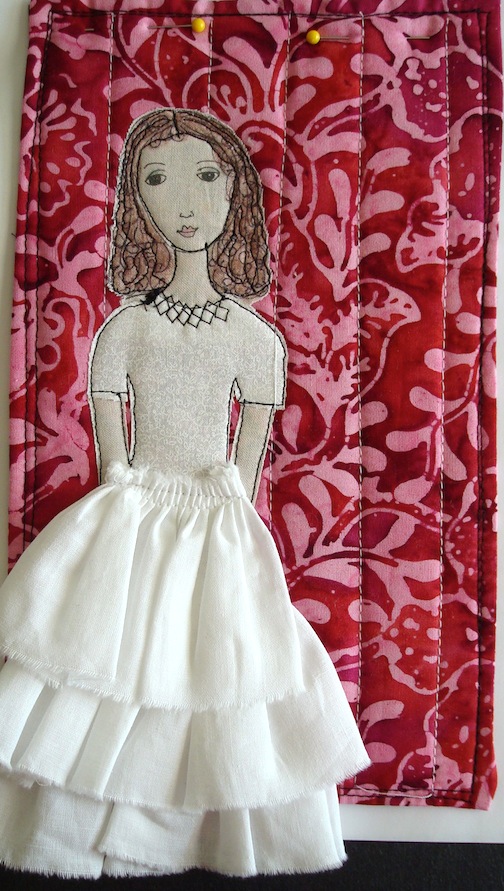
Step 7: Outline stitch around the girl, add quilting stitches and bind quilt. I used a pillowcase type binding on these quilts where I folded the edges together and stitched them in place. (You can see where I haven’t finished trimming my quilting lines.)

Step 8: Embellish quilt with buttons, ribbon, metal trinkets, embroidery floss. Write a saying for the girl on a piece of fabric fused to fusible webbing, trim and iron to quilt. Stitch around the saying and attach a hanger to the back of the quilt.
Awesome instructions. I can’t wait to get moved so I can unpack all my trinkets and get back to my girlie girls.