
She feared decorating decisions (6†x 10â€)
A comment from ♥Duff inspired me to write a tutorial on making a girly quilt. It was fun to pause during each step and snap a photo. Hope you enjoy seeing the process as much as I enjoy doing it.
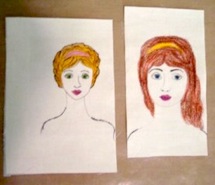
Find a drawing or photo of a face and trace it. If I am using heads I already created such as these, I skip this step.

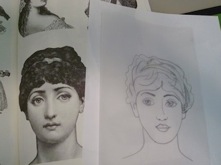
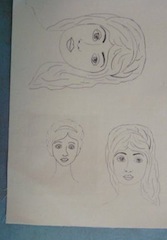
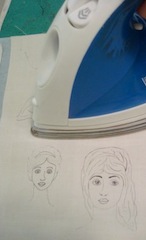
Scan the drawing, edit using Photoshop elements and print the onto muslin ironed to freezer paper. Remove the freezer paper and iron the fabric face onto fusible webbing. (I used my tracing and then made a modified version with longer hair and printed 2 sizes of the faces.)
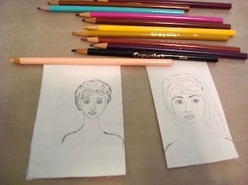
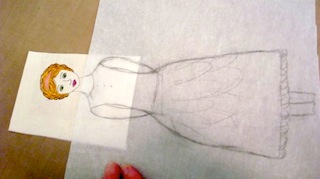
Color face with colored pencils.
On the release paper of a piece of fusible webbing, draw a dress/body pattern to go with the face.
Select fabric for the background and dress.
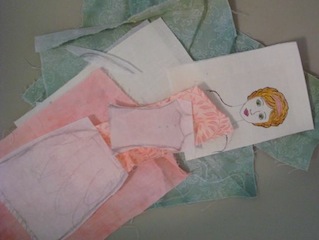
Iron fusible webbing to the dress/body fabric.
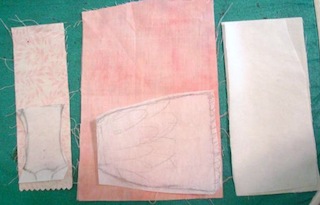
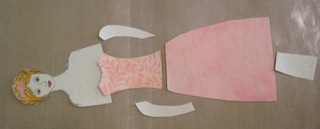
Cut out the face and dress/body pieces.
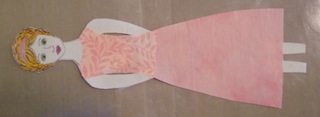
Place a teflon sheet or release paper pulled off a piece of fusible webbing under the girly. Peel the release paper from the dress and place the head, arms and legs. Iron carefully to secure the girl dress, body and head together. Trim extra fabric near shoulders.
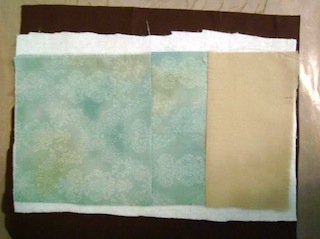
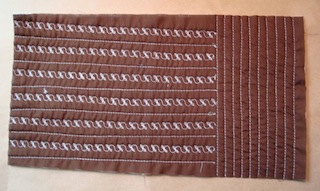
Piece the background fabric, then create a quilt sandwich. Ensure the background fits the size of the girl – not too big and not too small.
Use decorative stitches on the sewing machine to create a stitched background and trim the quilt. (Sometimes I doodle with free motion quilting on the background instead of using the decorative stitches.)
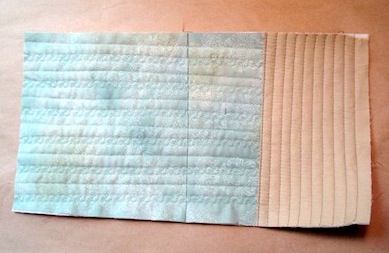
(here’s what the back of the quilt looks like at this point)
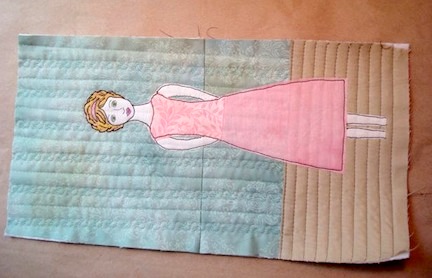
Remove all release paper from the girly and place her on the background. Iron.

Sew around the girly with black thread. Sew the lines in the hair as well.
Embellish the girly – with decorative machine stitches, lace or trims.
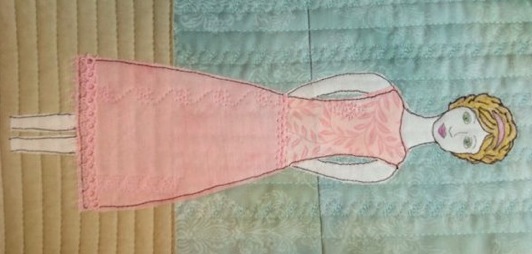
Square up the quilt if needed and bind (pre-made binding is great for this).

Add embellishment to the quilt. Dimensional embellishments such as these tiny metal frames or buttons that need to be hand stitched are added after machine stitching the hand written sentiment.

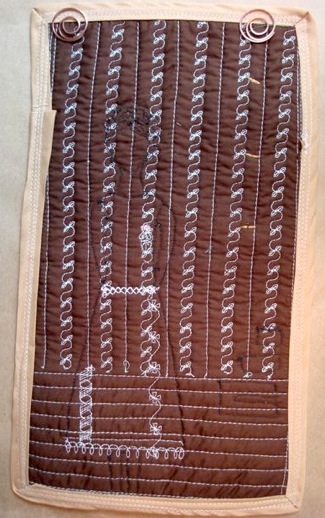
Here’s what the back of the quilt looks like at the end. The hangers haven’t been stitched on yet, but I wanted to show where they will be.
Thanks for sharing the process, I will have to take the leap and try something like this myself. I too have trouble making decorating decisions..I can relate to this.
yeah! I’ve read this trough a couple of times and I think I will try it before I come at you with questions. I don’t have a scanner so I’m going to see if maybe the library has one. what do you do in photoshop? Is it trace the major lines of the face and head? Hmm.. I don’t have photoshop so I’ll have to look into that as well. There must an online program of some sort!
At any rate, the tutorial is fabulous! Thank you so much for putting it together. Now when you’re invited to teach this method, you’ll have a slide presentation ready to go!
If I don’t want to use my scanner, I trace my tracing onto muslin directly instead of doing the scan/print on fabric method. Use a very fine tip permanent marker. It helps to put your tracing on a piece of white paper, tape it to your table and then tape the muslin to the table as well – that way nothing moves. If it’s hard to see your tracing, try using a light box or window.
In photoshop, I will draw longer hair, slim the neck or remove the shading that my tracing might have. To do this without photoshop, trace your tracing again but this time make changes to the drawing such as changing the hair, neck or face shape. Each tracing of a tracing will be different giving you lots of different faces.
I also use photoshop to resize the drawing – you can do this with a copier to enlarge or shrink your drawing as needed.
thanks for sharing the process!! that is very generous of you! i love this little quilt in this post also!
OH THANK YOU CARRIE!!
I must try one of these SOON!
wow, u are an artist, these quilts are amazing.