I thought you might enjoy a few in progress photos and instructions on how I do a ballerina with a dimension tutu.
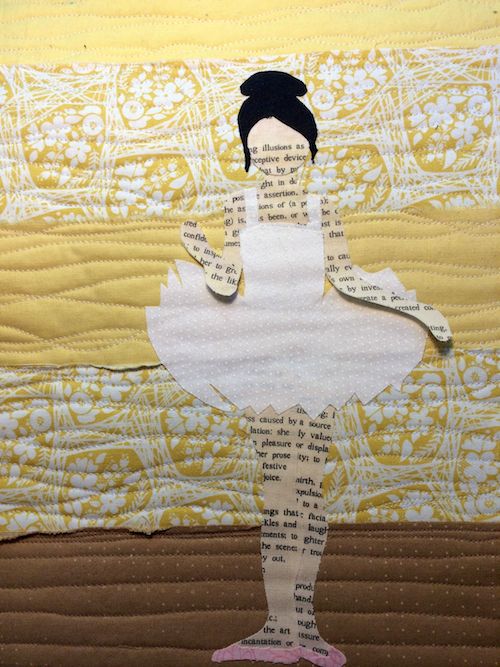
Remove all of the the release paper from ballerina except on the arms and iron the girl to the background.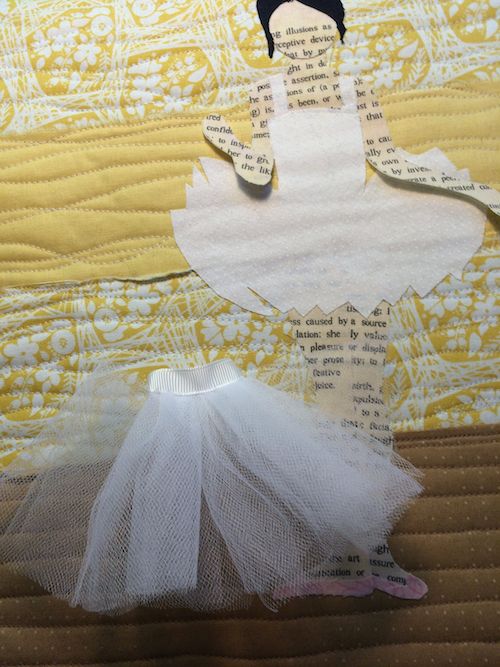
Create a tulle tutu. I hand gather 4 layers for tulle – the strips are about 5 times the width of the ballerina’s waist. The gathered tulle is hand stitched to a piece of ribbon slightly wider than her waist with the end tucked under to be the exact width of her waist. I then trim the tutu to the desired length.
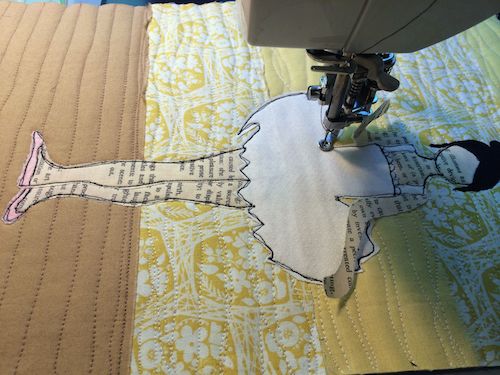
I outline stitch around the twice on the skirt, legs, shoes, face, next and hair and once on the bodice. I don’t have any stitching on the arms which still have the paper on them at this point. This lets me do mod tot the stitching without having to move the tutu around a lot.
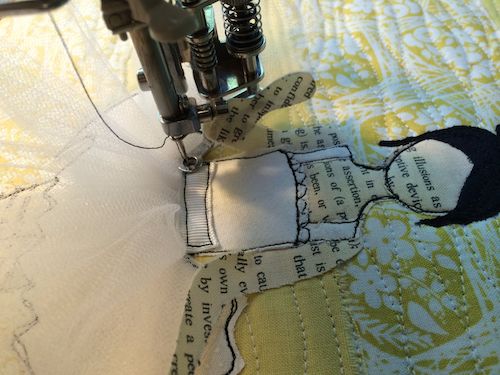
Place the tutu on the girl and outline stitch around the ribbon.
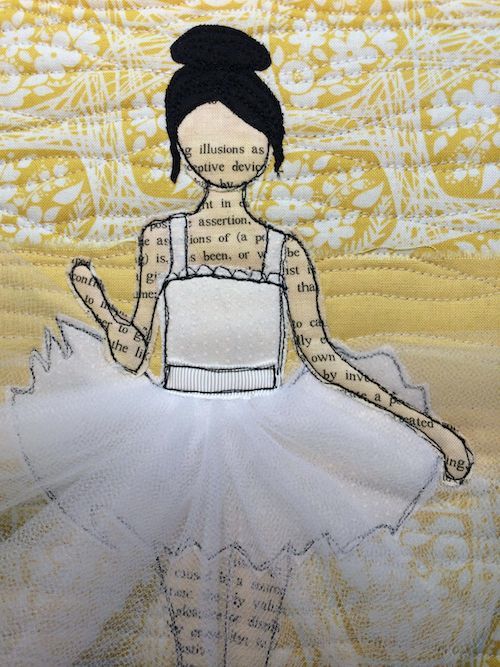
Remove the paper from the arms and follow the stitching on the bodice to get to the arms. Since I can’t fuse the arms in place without melting the tulle, I turn my feed dogs back on and slowly sew once around the arms once instead of using free motion stitching. I leave my darning foot on while I do this so I have a bit of control for turning. For the second pass on outline stitching I do normal free motion stitching.
One Reply to “Ballerina Stitching and Tutu How To”
Comments are closed.
Thanks for this “How To” on the tutu. Loved the Halloween pieces you showed. Your work continues to amaze me.