Below is my favorite method for adding quilt hangers as I bind a quilt.
Step 1: Gather materials.
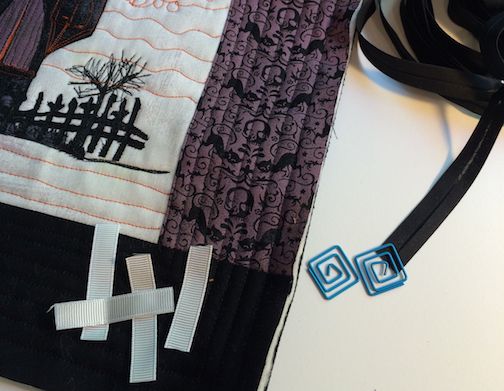
– Quilt trimmed to size
– Single fold bias tape 1/2â€
– Ribbon, 4 pieces about 1.5†– 2â€
– 2 spiral paperclips (round or square)
– Lighter or lit candle or fray stop liquid
– Sewing machine and sewing supplies
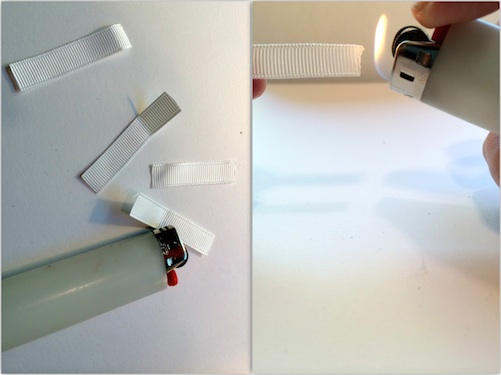
Step 2: Singe both edges of the ribbon to stop fraying. You could use fray stop liquid instead of a lighter if you prefer.
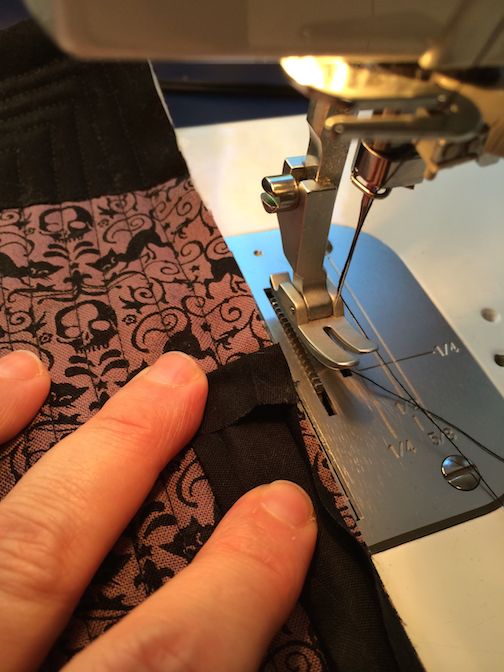
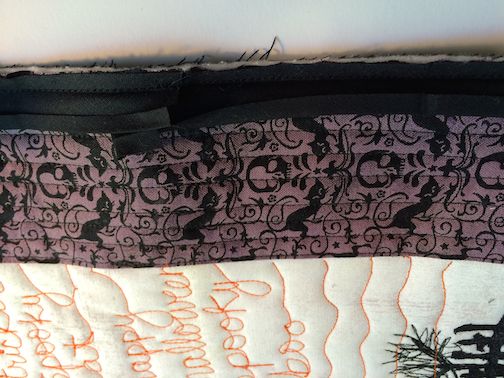
Step 3: Open the bias tape and fold down the end about 1/2â€.

Step 4a: Stitch the bias tape to the edge of your quilt with a 1/4†seam. Sew over the folded edge of the bias tape.

Step 4b: Continue sewing around the edge of the quilt like you would with any other binding including mitering your corners.
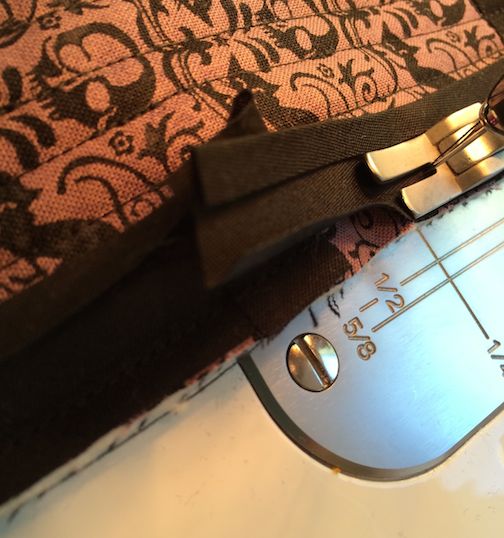
Step 4c: When you return to where you started, cut the bias tape to overlap the folded edge.
Step 4d: Finish sewing the bias tape in place.
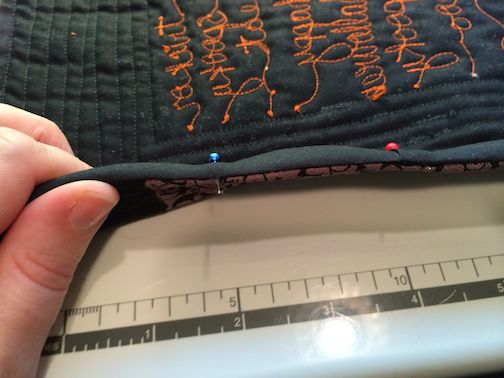
Step 5a: Fold the bias tape around to the back of the quilt. The folded edge of the bias tape will cover the cut edge sealing it in.
Step 5b: Continue folding the bias tape to the back securing edge of the quilt in the binding. Pin the binding in place as needed.
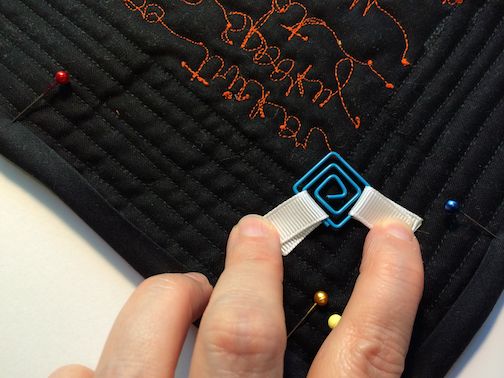
Step 6: Place two ribbons on each spiral paperclip (hanger) at 90 degree angles.
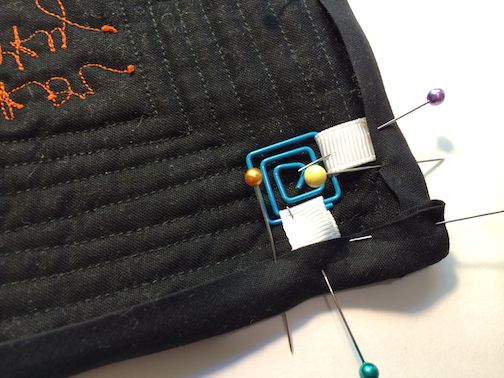
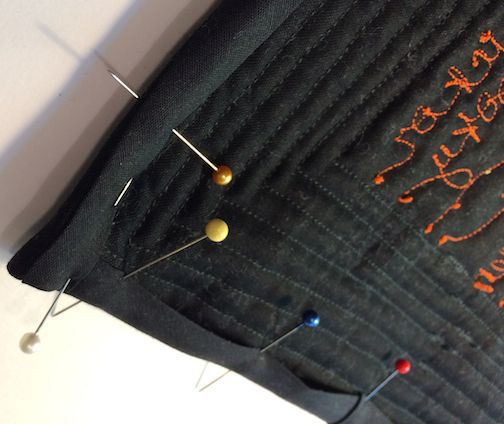
Step 7: Slide the hangers into the upper corners of the quilt with the ribbon secured under the bias tape.
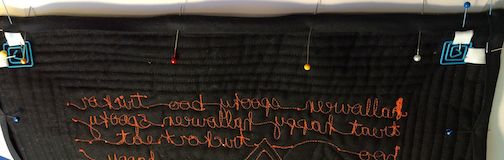
The top backside of your quilt will look like this.
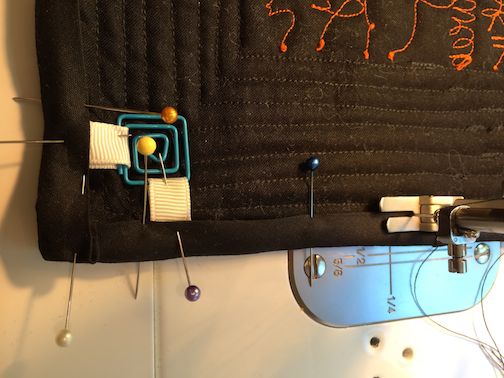
Step 8: Stitch the edge of the binding in place. Removing pins as you go.
Step 9: At the corners, back tack over the ribbons.
Step 10: Press the edges of the quilt.
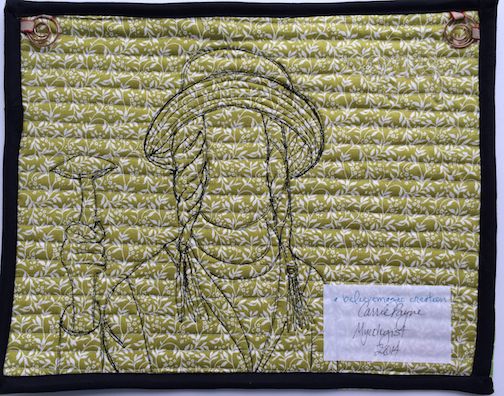
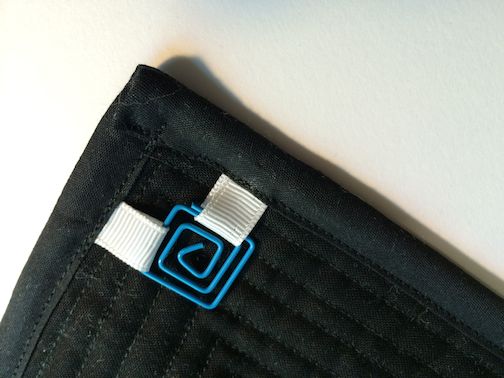
Here’s a quilt that isn’t black on black to show the completed back with hangers in place.